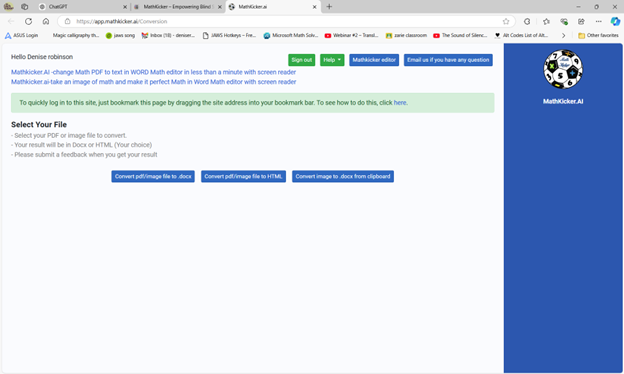
Dr. Robinson demonstrates Tech Tricks on How to Properly Format a Paper. Such as how to correct formatting issues in a document, emphasizing the importance of proper indentation, font usage, and spacing. She also explains how to rebuild a normal template, adjust page views, and input a header correctly. Lastly, she discusses the process of correcting formatting issues in a document, particularly for works cited or reference pages, and stresses the importance of following specific requirements when formatting papers.
Step by Step directions on:
Properly Format of a Paper
When your word template is not adjusting or working the way it needs to, then rebuild it.
Delete Normal Template
- Windows R and type %appdata%\Microsoft\Templates and enter.
- Press N for normal and hit delete and get rid of it. Alt F4 and close
Go back to WORD
Rebuild the Normal template
- Alt O then P to your paragraph spacing.
- Alt F to “after” spacing and you will hear 8 pt, so type 0
- tab once hit S for single spacing and make sure it is selected then tab.
- save as default with Alt D then Alt A to save all documents based on the normal template.
- Close dialog box
- Now control D to your font dialog box and you can select any font that is required by APA or MLA, but we typically use Times New Roman so type Tim
- Down arrow to Times New Roman
- Tab twice and make sure the font size is 12.
- Set default with Alt D then Alt A for all documents based on the normal template.
- Close dialog box
Your WORD Template is now ready to go for a Properly Formatted Paper
If you have already written your paper, then open it up
- select it all with ctrl A then ctrl C to copy it.
- Alt Tab to the new WORD document and you will paste in using this option to get rid of all formats.
- Alt H to home, V to paste and T to keep text only.
- Ctrl A to select all and Ctrl 1 to truly make sure it is single spaced.
- If you start a New writing assignment-keep it single spaced and then when done, do the following also. We are humans and make mistakes.
- Control home to make sure you are at the top of the paper.
- Down arrow one line at a time and listen for any line that says blank and backspace or delete and get rid of it.
- You do not want any blank lines in this document because it is now single space. If you are just typing it out, do not hit enter twice but only when you begin a new paragraph
- When you hear: Works Cited or References: press control enter to make a brand-new page to stand alone. Do this for all: Works Cited or References for a new page
- When you get to the bottom of your References or if you are typing it out, then when at the end
- control shift up arrow to select all your citations then do a Ctrl T for hanging indent which means the first line is the longest and every line thereafter will be indented ½ inch.
To Begin a Proper Paper or to Double check it
F12 to save as and name it properly and place it in proper folder:
- Ctrl Shift N makes a new folder,
- type the name of the class and enter to solidify name of class.
- Then enter to open folder
- Alt n to file name again to make sure it is correct. Retype if it changed.
- Alt S to save it.
- place paper there and all other drafts.
Enter into the header first (that is the white space of the margin) with Alt V, H
- Insert your page number first:
- Alt N to insert NU to number (listen for top of page and enter or right arrow to open)
- down arrow to Plain number 3 which places your number on the right-hand side of your header and press enter.
- Now type in your last name and press space to put a space between your last number and page number and hit escape to get out of your header.
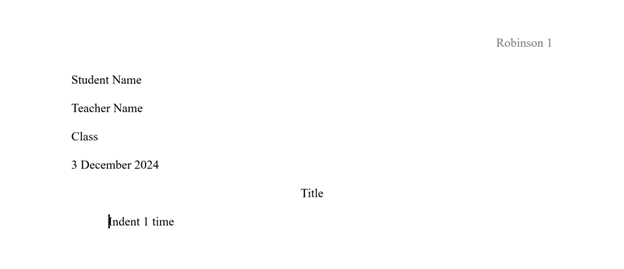
Now type a proper heading:
- Type your name and enter.
- Type the professors or teachers’ name and enter.
- Type the subject and enter.
- insert the date the professor requires for either MLA or APA with Alt N, D, then down arrow to the proper format requested and enter and it will automatically insert into paper.
Now Check Format of Paper
control home
- Make proper paragraphs.
- Ctrl down arrow jumps you 1 paragraph at a time so tab 1 time and hear indent 1.5 inches. That means margin is 1 inch and indent is .5 inches.
- Listen carefully and feel your display as when you ctrl down arrow and you see spaces then there is already a bad indent there so delete it until it is 1 inch which you can feel on your display also, then tab and hear 1.5 inches and continue. Be incredibly careful that you do not go into the works cited page so listen carefully and stop at the end of the paper.
- When done with indents, Ctrl home.
- control A to select the whole document and control 2 for double space.
- Down arrow to your title and control E to center your title and make sure it is in title case. Insert f3 takes you through case formats so you do not need to retype.
Now control home once again and press F7 for the editor .
- Your screen reader will tell you what percentage score you have, and you want to get it to 100 percent.
- Tab once and make sure it says formal writing. You have three options under here, but formal writing is the default:
- Tab to corrections and you hear spelling then down arrow to grammar and make sure those are down to zero when you are done.
- Tab to refinements then down arrow through clarity, conciseness, formality, inclusiveness, punctuation conventions, resume, sensitivity geopolitical references and vocabulary.
- Keep in mind if it starts selecting proper nouns you can always tab to ignore as you are going through your options.
- When you lose focus of the editor or escape to jump back into paper to add or change paper details, just F7 to resume editor.
- Tab To the next option of similarity and check for similarity to online sources (this is what your professor or teacher does to make sure you did not plagiarize. Make corrections as needed so you are not plagiarizing.
- Tab to insights where document stats will be and enter.
- This dialog box tells you what level you are writing at so if you need to write at a college level make sure you are writing at your grade level or above.
- As you make all the corrections that the editor suggests it will immediately improve your scores.
If you check your paper and you accept improper formats or spelling, then do the following to tell the editor to recheck your paper.
Alt F to file and T to tools then P to proofreading:
First, Alt w to writing style and make sure you have the grammar and refinements option selected.
alt K to recheck your paper and enter to close, then F7 to recheck your paper again.