Dr. Robinson explains the three toggles to Switch Focus Braille Modes quickly on your Braille display. One toggle puts you into Braille mode for all Braille tasks. Another toggle switches to computer braille which inputs direct Nemeth code for math. The third toggle is for computer in and contracted out for either Nemeth or UEB math.
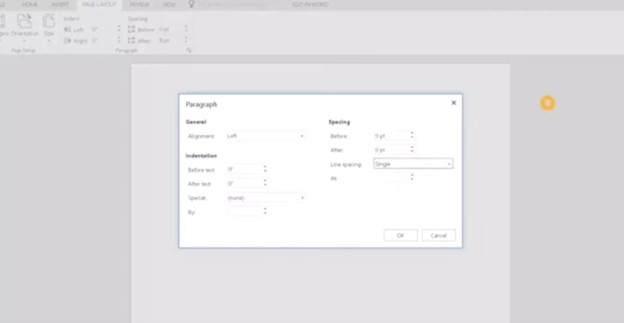
Access Jaws settings to set up Focus Braille Mode Options
First, press Insert + 6 to check your settings. Type “braille m” and down arrow to “Braille mode.” You can access options one by one with arrow keys or press F6 to jump to structured then Alt+T to jump to output. Press down arrow to UEB Grade 2 then tab to input and c to computer braille first to uncheck the box that says “Show current word in computer Braille”. Shift tab back up to input and choose UEB for both input and output. You can have other options also but this is what used here.
Tab through back to For structured Braille mode, check “Active cursor follows Braille cursor” and “Braille cursor follows active cursor.” These settings help beginners, especially when working with sighted personnel learning Braille to following along visually for instructor. Always have a certified Braille instructor (TVI) to teach reading and writing Braille correctly.
Always press Alt + A to apply settings before exiting. However, if you do not like the extra information at the start of your display, shift tab back to search in settings and type status and enter. Down arrow to status and F6 and down to right (to place status on the right of display) and down to none and apply that and close. When you first turn on your Braille display, the status characters may be confusing to young learners. Additional Braille Display Lessons here.
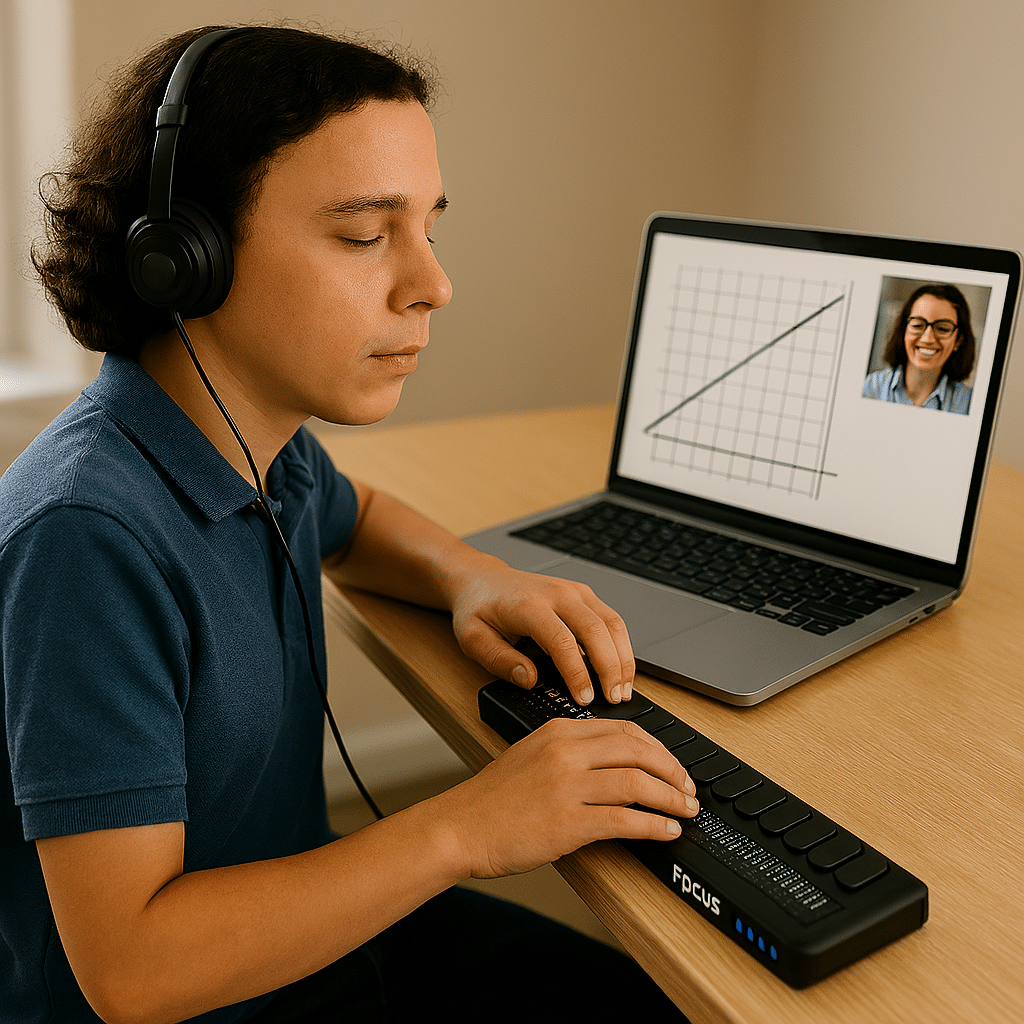
Focus Braille Display Image with Button options
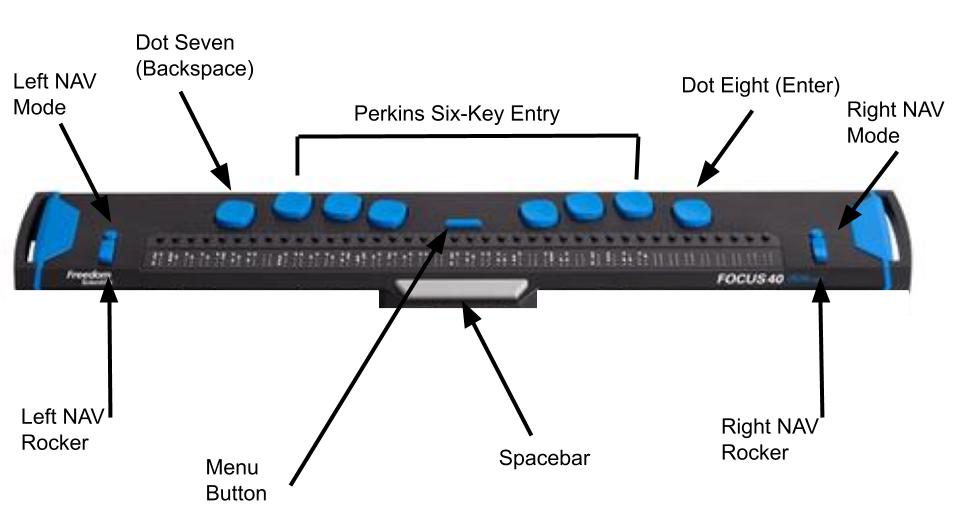
For advanced users, status dots help in tables and other navigation. Beginners should start with “none.” Press Alt + A to apply changes, then enter to close. The Braille display functions like a Braille writer. Keys 1 2 3 are on the left, and keys 4 5 6 are on the right with space in between the left and right side. The left pinky key is backspace, which changes to dot 7, and the right pinky is enter or dot 8 in combination with other keys.