You want to Rebuild Microsoft Word Template when you close WORD and it starts to ask: There are changes to the Normal Template, “Do you want to save the normal template?” You always want to say “NO” because if you do not it will start opening with the last work you did in it. If you want WORD to STOP asking that question or fix your goof, here is how to rebuild that Normal Template
Commands to rebuild Word template when it gets messed up and constantly asks if you want to save it. Other Lessons to fix Tech
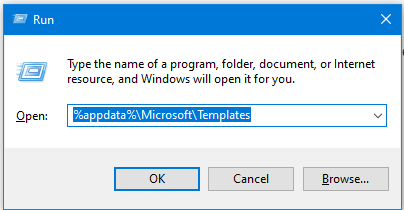
- Open the Run Dialog Box:
- Press
Windows + R. - Type
%appdata%\Microsoft\Templatesand pressEnter.
- Press
- Delete the Normal Template:
- In the opened folder, find
normal.dotm(or the equivalent for your Office version). - Select it and press
Delete.
- In the opened folder, find
- Reopen Word:
- This action will rebuild the normal template automatically.
- Reconfigure Your Settings:
- Fonts:
- Press
Ctrl + Dto open the Font dialog box. - Set your desired font (e.g., Times New Roman, 12 pt).
- Press
Alt + Dto set as default for all documents.
- Press
- Paragraph Spacing:
- Press
Alt + O, thenPto open the Paragraph dialog box. - Adjust spacing settings (e.g., single spacing).
- Press
Alt + Dto set as default for all documents.
- Press
- Fonts:
This process ensures your Word template is reset and configured to your preferences. Here are some more fixes you can do
Other WORD Lessons
Optimizing Windows 11 Efficiency for Screen Reader with Key Settings and Configurations
WORD Efficient Text Navigation and Selection
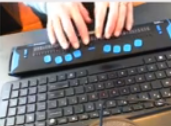
Basic WORD JAWS commands with Typing Trick
Rebuild Microsoft Word Template when it is not working well
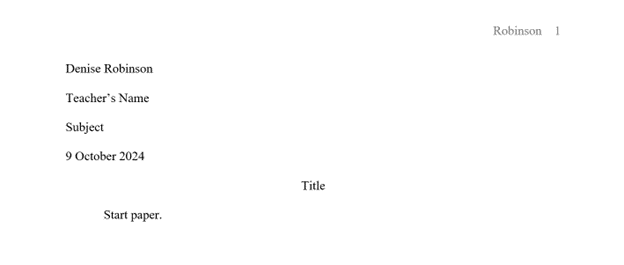
Microsoft Word MLA format with Christopher Duffley
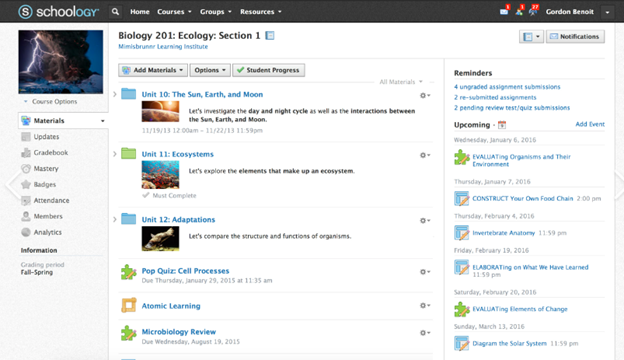
WORD accessible food chain for class using talking software
Commands to change mouse -access programs fast, basics in Word font & movement
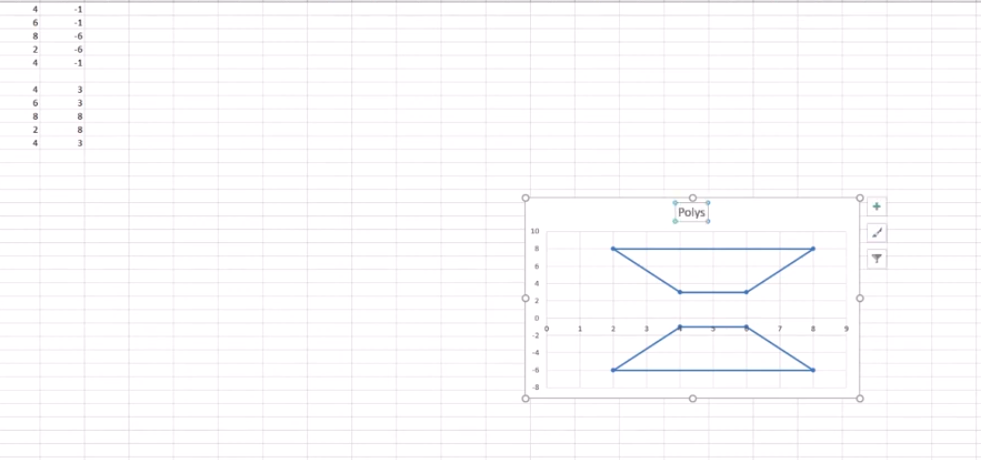
Excel line plot graph-copy to Word for Math
Complete an excel graph and copy into Word document with screen reader
Essential WORD keyboard commands for setting defaults
Track changes in Word-How teachers make corrections in work
Track Changes with Commands-inserting comments and editing work
Let us know how we can help you: Contact US: TechVisionTraining@yourtechvision.com