Windows 11 screen reader setup-Part 2
In this video of Windows 11 screen reader setup part 2, Dr. Denise Robinson walks you through how to enable proper settings to make Windows 11 work better with screen readers like JAWS, NVDA, and Narrator pt 1 and this is part 2. She suggests using more than one screen reader—ideally two or three—to cover all your needs. If you need to remap a key to say, acquire an applications key, you can do that yourself.
Dr. Robinson starts by showing how to set up JAWS with windows 11. She explains how to find and use the JAWS context menu by pinning it to the taskbar. To access it, use Windows + T and the right arrow key. She also advises switching JAWS to laptop mode, even if you’re on a desktop, to use both desktop and laptop commands. This makes JAWS more flexible.
Next, Dr. Robinson talks about setting up voice profiles. She recommends creating different profiles for different tasks, like using a slower speed for reading and a faster speed for navigating. This helps make the screen reader more effective.
The video also explains how to set up a Braille display. Dr. Robinson guides you on choosing and configuring the right Braille display. She also mentions the early adopter program, where you can enable MathCAT for advanced math work, ensuring it works well with JAWS in Microsoft Word.
Adjusting Microsoft Word and Email Settings

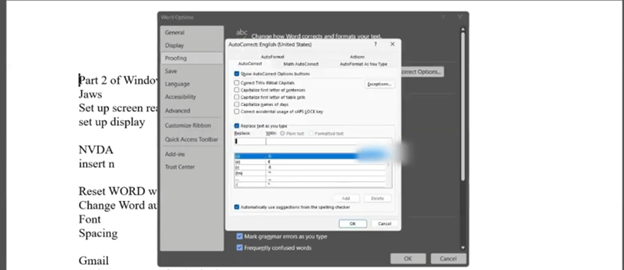
Dr. Robinson then moves on to Microsoft Word settings. She explains how to adjust autocorrect features to prevent automatic changes that might confuse the screen reader, especially in math. By disabling certain autocorrect options, you can make sure the screen reader reads everything accurately.
Finally, Dr. Robinson shows how to set up Gmail with keyboard shortcuts and integrate it with Outlook. She gives clear steps on enabling IMAP and adjusting security settings. This setup allows you to manage your email smoothly using screen readers.
This video is part two of a series on Windows 11 setup for efficacy for screen readers and all encompassing setup. By following these steps, you can make your computer easier and faster to navigate.
Low Vision skills on Mouse Settings if you are Low Vision
and walking through setup of computer as parent or guardian
