(Home Row to Full Speed)
Proper Placement of Fingers on Keyboard
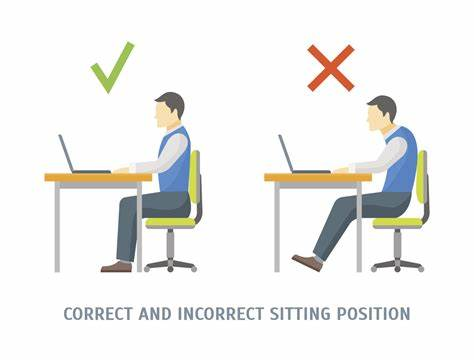
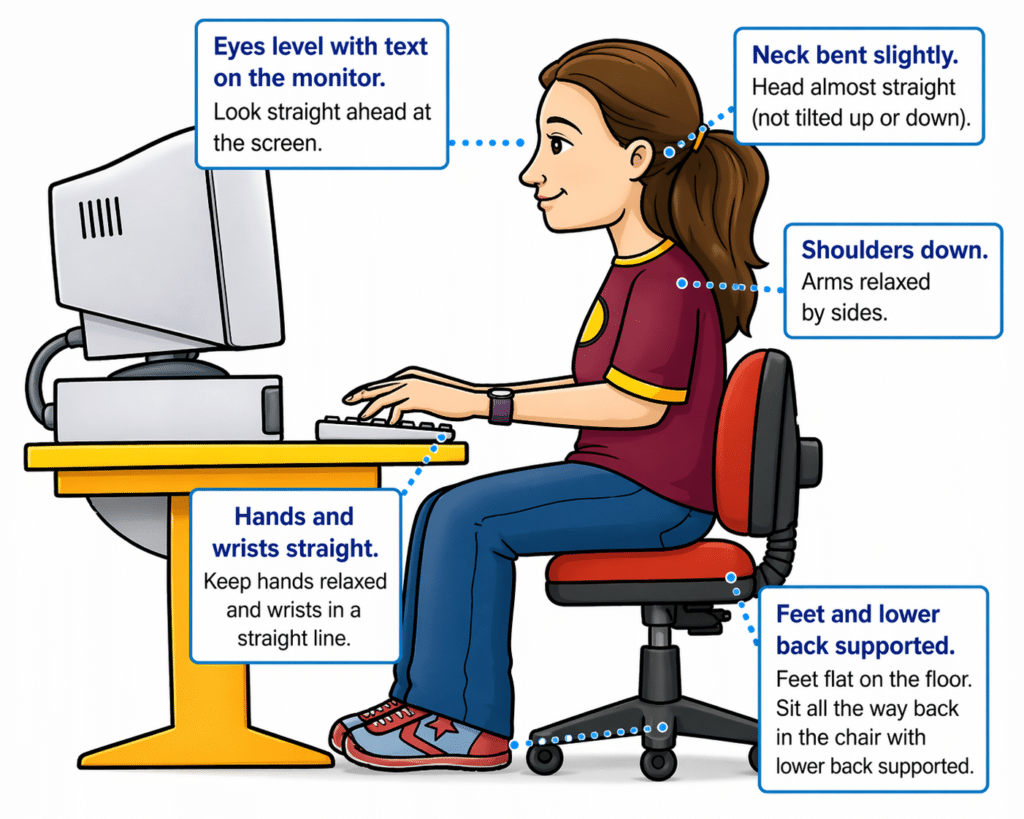
The way to sit and learn-this is critical for speed and accuracy:
- Sit tall, back supported
- Feet flat on the floor
- Elbows at 90 degrees
- Wrists straight and slightly raised
- Hands hover over keys
- Shoulders relaxed
- Head up, eyes forward -do NOT look down–looking slows you down
Teaching line to repeat (great for kids)
“Sit tall, feet flat, wrists up, and let your fingers do the work.”
Begin with the home row keys:
Left hand: A S D F G
Right hand: H J K L ; ‘
Practice moving forward and backward across these keys until movement feels natural and consistent. Focus on correct finger placement and returning to the home row after each key.
Once comfortable, begin typing the word series below.
After completing the first three sets of words, introduce capitalization by using the Shift key with the opposite pinky of the letter being typed. This builds correct habits for capital letters.
Next, introduce the period key, using the right ring finger (L finger down to period), and incorporate it into word and sentence practice below.
STEP 1: Home Row Only (a s d f j k l 😉
Focus: finger placement + rhythm
3-letter words
- sad
- lad
- ask
- all
- dad
- fall
- sass
- add
- flask (stretch word)
STEP 2: Add “e” (very high-frequency letter)
3-letter words
- led
- fed
- red
- bed
- see
- eel
4-letter words
- deal
- lead
- seed
- feel
- else
STEP 3: Add “i” and “o”
3-letter words
- did
- kid
- lid
- oil
- old
4-letter words
- soil
- sold
- fold
- told
- idle
5-letter words
- solid
- field
- slide
STEP 4: Add “t” and “n”
3-letter words
- tan
- net
- ten
- tin
4-letter words
- sent
- tent
- lent
- note
- tone
5-letter words
- stone
- notes
- inset
STEP 5: Add “r” and “h”
3-letter words
- her
- hat
- rat
- hit
4-letter words
- rent
- heat
- rate
- tire
5-letter words
- heart
- other
- there
STEP 6: Add “m” and “u”
3-letter words
- hum
- sum
- mud
- run
4-letter words
- drum
- much
- turn
- hunt
5-letter words
- human
- drum
- rumor
STEP 7: Add “c”, “g”, “p”
3-letter words
- cap
- gap
- cup
- pig
4-letter words
- grip
- clip
- camp
- page
5-letter words
- grape
- magic
- price
STEP 8: Add remaining letters (b, v, w, x, y, z, q)
3-letter words
- web
- box
- wax
- yes
4-letter words
- wave
- very
- next
- zone
5-letter words
- zebra
- woven
- extra
- value
6-letter words
- wizard
- vortex
- oxygen
FINAL STEP
Now bring it all together: Practice typing this daily and keep a log of speed and accuracy which is great for an IEP Goal
The quick brown fox jumps over the lazy dog.
You must build proper muscle memory—speed will follow naturally.
- Start with muscle memory (home row)
- Build using real words, not random letters
- Add letters in logical frequency order
- Increase word length gradually
- Always reinforce accuracy first, then speed
“Speed is a result of accuracy and repetition—not rushing.”
Watch Vision: Learn Touch Typing Fast: in 5‑Days (1 Hour a Day)
Proper Placement of Fingers on Keyboard
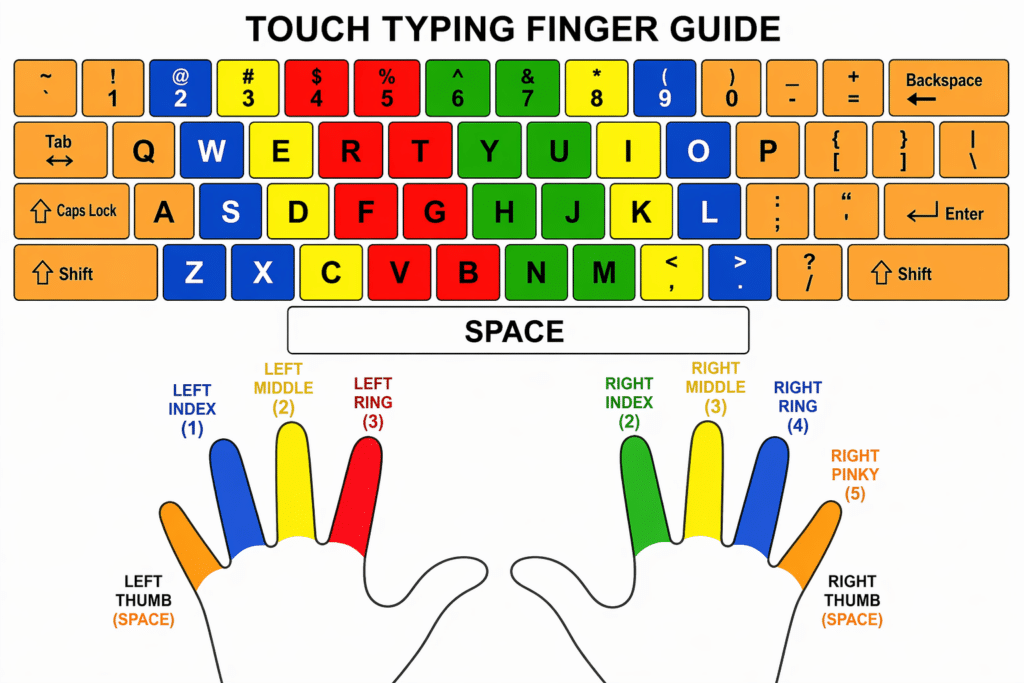
Touch Typing Finger Guide
This image presents a color-coded keyboard and hand diagram designed to teach proper finger placement for touch typing.
ALT Text: At the top of the image is a full keyboard layout. Each key is color-coded to show which finger should be used to press it. The keyboard includes all standard keys such as letters, numbers, punctuation, Shift, Enter, Backspace, Tab, and Space.
The keyboard is divided into sections by color:
- Keys assigned to the left hand appear on the left side of the keyboard.
- Keys assigned to the right hand appear on the right side of the keyboard.
- Each finger is represented by a consistent color across both the keyboard and the hands shown below.
Touch Typing Finger Guide
This diagram shows a standard QWERTY keyboard with each key color‑coded to match the finger that should press it. Below the keyboard are two hands, each finger labeled with a number and color that corresponds to its assigned keys.
Left Hand Responsibilities
- Left Pinky (Finger 5): Controls the far‑left keys: Tab, Caps Lock, Shift, the number 1, and the letter keys Q, A, Z. Also handles punctuation on that side.
- Left Ring Finger (Finger 3): Controls 2, W, S, X.
- Left Middle Finger (Finger 2): Controls 3, E, D, C.
- Left Index Finger (Finger 1): Controls two vertical columns:
- Left column: 4, R, F, V
- Right column: 5, T, G, B
Right Hand Responsibilities
- Right Index Finger (Finger 1): Controls two vertical columns:
- Left column: 6, Y, H, N
- Right column: 7, U, J, M
- Right Middle Finger (Finger 2): Controls 8, I, K, comma.
- Right Ring Finger (Finger 3): Controls 9, O, L, period.
- Right Pinky (Finger 5): Controls the far‑right keys: 0, P, semicolon, apostrophe, slash, plus Enter, Backspace, Shift, and other right‑side punctuation.
Thumbs
- Both thumbs press the Spacebar, with the right thumb used most often.
Overall Purpose
The diagram teaches correct touch‑typing technique by showing which finger should press each key. Each finger controls a specific vertical zone so students can type quickly without looking at the keyboard.
Key Concept
Each finger is responsible for a specific group of keys. The fingers return to the home row after each keystroke. This method allows typing without looking at the keyboard. Trying to look at keyboard will slow you down. Muscle memory is the key.
Purpose of the Diagram for teachers to teach skill
This visual supports learning:
- correct finger placement
- muscle memory
- efficient, accurate typing without visual reliance
Simple Teaching Summary
Each finger has a job.
Start on the home row.
Reach, press, and return.
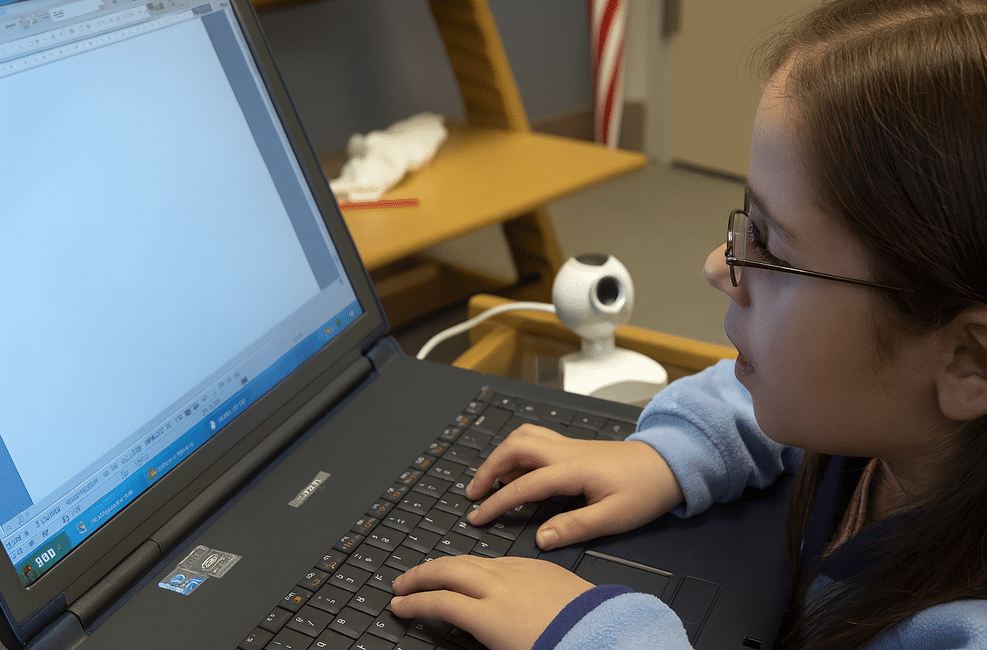
Videos to Watch of Students in Action with screen reader
Low Vision Students or students with Progressive Vision Loss—Start Early. Build Independence.
Just Begin Now!
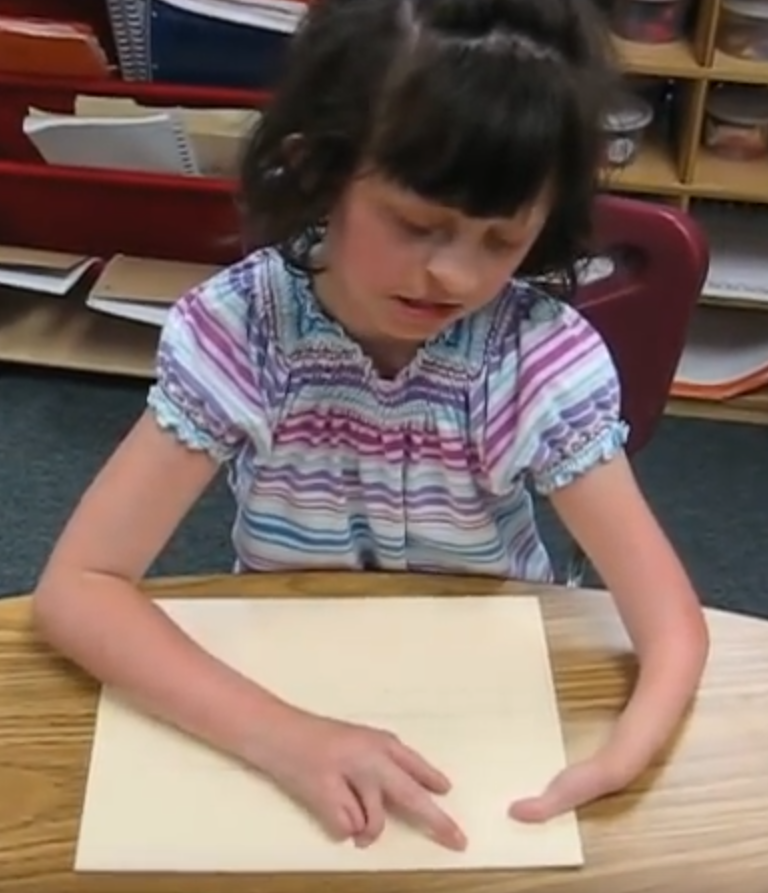
Blind 4‑Year‑Old and 2nd Grader Race Using Braille Writing Devices
Watch the Video of learning keyboarding in a week and speed within 2 months
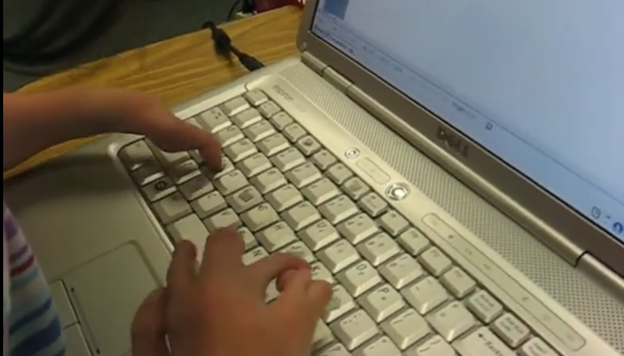
Braille Instruction Starts at Age 3 – Early Blind Education Success Story
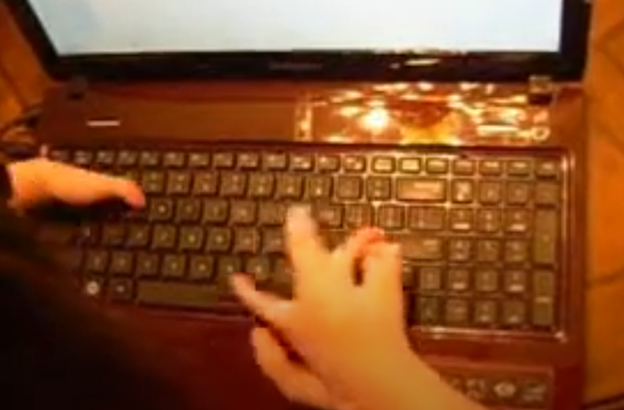
Blind Student Keyboarding FAST – 10th Grade Research & Writing Independence