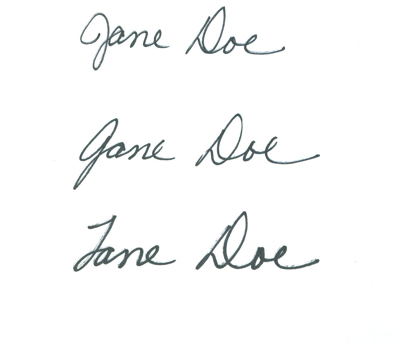
You can quickly create an electronic signature using keyboard commands on various platforms. In Microsoft Word or Adobe Acrobat, type, draw, or insert a signature image. Keyboard shortcuts simplify the process, making it easy to add signatures to digital documents. This guide provides step-by-step instructions on typing, drawing, or inserting a signature using shortcuts. You can apply this method across all versions of Word for creating electronic signatures efficiently and effectively.
To create an electronic signature using keyboard commands, follow these steps:
Make Electronic Signatures in WORD and Adobe
- In Microsoft Word:
- Open a blank document. Press Alt + N, then P to insert a picture if you’re using a scanned image of your signature.
- This means, hand write out a signature and scan it into computer and save as your signature. Then insert that into your documents and use any where to make an electronic signature process smoother
- Use a mouse to crop out JUST the signature, application key when you are on the image and save as picture and name it the word signature after your name
- For typed signatures, press Ctrl + Shift + K to enter text in a signature-like font (if available), then press Ctrl + B to bold the text if needed.
- To save the signature, press Alt + F, then A to save as a PDF or document.

- In Adobe Acrobat:
- Open a PDF and press F6 to navigate the newest Adobe or Alt + T for the tools menu. Navigate with F6 or the arrow keys to “Fill & Sign” and press Enter. Follow prompts to either type, draw, or insert an image of your signature.
Any issues in WORD, then just rebuild it
Other access Lessons on YOUTUBE
